
Table of contents
2 – 1. A tech pack, or a real plan to get one
3 – 2. A physical reference of the fit you want
4 – 3. Fabric and trim details, as specific as you can make them
5 – 4. Your quantities and size breakdown
6 – 5. Visual references, and a little context
7 – The complete package, at a glance
8 – When you’d rather not assemble it alone
9 – Frequently asked questions
TL;DR — What to send a clothing manufacturer is a package, not a single document. At its fullest it’s five things: a tech pack or clear specs, a physical reference of the fit you want, fabric and trim details, your quantities and size breakdown, and visual references. You don’t need all of it to start a conversation. But the more of it you send, and the more consistent it is, the faster and cheaper your first sample comes back.
The gap between a fast, clean production and a slow, expensive one often opens before the manufacturer has done anything at all. It opens with what you send them, and how complete it is.
Send a workshop a vague idea and a few photos, and they’ll fill the gaps with guesses. Some of those guesses will be wrong, and you’ll find out at the sample stage, which is the most expensive place to find out. Send a complete package, and the guessing mostly disappears.
So this guide is a checklist of what to prepare before you brief a clothing manufacturer in Italy, and why each piece earns its place. Not to make the task heavier than it is, but to get your first sample closer to right the first time.
If you don’t have a shortlist yet, our guide on finding a clothing manufacturer comes first. This is what you prepare once you’re ready to talk to one.
Why the package matters more than any single piece
A manufacturer builds from what you give them, and nothing else. They can’t see the product in your head. They can only see the tech pack, the sample, the fabric note, and the photos in front of them, and they turn exactly that into a physical garment.
Which means every gap in your package becomes a decision someone else makes for you. Leave the thread color unspecified and the workshop picks one. Skip the fit reference and they work to a standard fit that may not be yours. None of these are the workshop being difficult. They’re the workshop filling a blank you left.
But there’s a second half to this, and it matters as much as completeness. A package works when it’s consistent, not just when it’s full. Here’s how a manufacturer in our network puts it:
“The biggest problem for us as manufacturers is confusion. If a client arrives with a tech pack and very clear ideas, perfect, we move fast. But I’m just as happy when a client starts from zero and we develop the project together. The problem starts when a client keeps changing their mind, goes back on decisions, changes direction too many times along the way, or contradicts themselves. That’s where the confusion comes from, and then the problems.”
That’s the balance to aim for. You don’t need every item on the list below to begin, and starting from very little is fine if you build the project together. What causes the delays and the cost isn’t an incomplete package. It’s a package that keeps changing after work has started.
So treat this as two goals at once. Send as much as you genuinely know, and be clear about what you haven’t decided yet, rather than deciding it, changing it, and deciding again.
1. A tech pack, or a real plan to get one
A tech pack is the technical document that tells the factory how to build your product: measurements, construction, materials, stitching, labels, and placement, all in one place. It’s the single most important thing in the package, because a workshop builds from it precisely. Get it right and the sample comes back close. Get it wrong, or leave it thin, and the error is built into the garment.
So the first thing to understand is that a tech pack isn’t optional for a serious product. You can’t develop a real garment from a reference photo and a conversation alone. At some point, someone has to turn that intent into precise, buildable specifications, or the workshop is guessing, and you’re paying for the guesses in sampling rounds.
The precision is the point, and it’s why it gets checked carefully even inside a managed process:
“When a tech pack goes to the workshop with something wrong in it, that mistake comes straight back in the sample. So it has to be corrected before it’s sent, not after.”
That’s the whole case for doing it properly. A vague or inaccurate tech pack doesn’t save you time, it moves the cost to the most expensive stage, where you’re paying for a physical sample to discover what the document should have said.
If you don’t have one yet, that’s common, and it doesn’t stop you making contact. But you do need a real plan to get one. In practice, three routes:
- The manufacturer develops it with you. Many workshops offer development, and will build the tech pack from your sketches, references, and a proper conversation about the product.
- A freelance tech designer builds it. A specialist you brief directly, who turns your idea into production-ready specs.
- A production partner builds it for you. Part of a managed service, developed from whatever you have and reviewed before it reaches the floor.
One route to be careful with: generating a tech pack from an AI tool and sending it as-is. It can look finished, but it will very likely need rework by someone who knows garment construction before a workshop can build from it reliably. Use it as a starting point if you like, but treat it as a draft for a specialist to correct, not the finished document.
2. A physical reference of the fit you want
This is the most underused item on the list, and often the most powerful. A physical garment, sent to the workshop, communicates in minutes what pages of measurements struggle to convey: how it should fit, how it should feel, how the fabric should behave.
The reason is simple. Fit is three-dimensional, and words are not. You can write “slightly relaxed through the shoulder” and mean something specific, and the workshop can read it and picture something else. Hand them a garment that fits the way you want, and there’s nothing left to interpret.
Serious brands do this deliberately. One client we worked with bought a Loro Piana polo shirt purely to bring it to the fit meeting, as a physical benchmark for the exact fit he wanted. It works the same way for basics: when you brief a t-shirt manufacturer in Italy, one tee that fits the way you want is the clearest reference you can send.
“I bought a Loro Piana polo shirt today in order to have exact fit information.”
That’s the move. Not a description of the fit, but the fit itself, in the room. It costs the price of one garment and removes a whole category of misunderstanding.
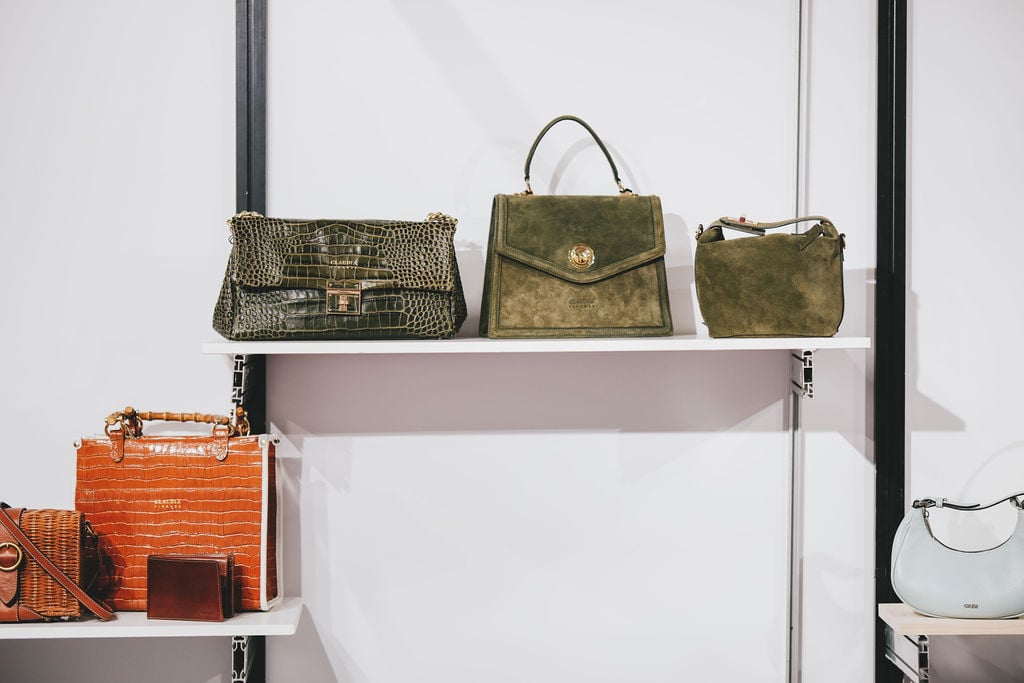
A reference doesn’t have to carry everything at once. Be clear about what you’re pointing at, because you’re rarely endorsing the whole garment:
- “Match this fit” — the cut and proportions are right, ignore the fabric and details.
- “Match this fabric weight” — the cloth feels right, the fit is a separate conversation.
- “Match this finish” — the stitching and construction quality are the standard, not the shape.
Send the garment, and say which of those you mean. A workshop that knows you want the fit of one reference, the fabric weight of another, and the finish of a third has more to work from than any sketch alone can give them.
3. Fabric and trim details, as specific as you can make them
Fabric is where vague inputs get expensive fastest, because the same word can mean a dozen different cloths. “Cotton” tells a workshop almost nothing. Weight, weave, finish, and composition tell them what to actually buy, and how your garment will hang and wear.
The level of precision a workshop works at is higher than most brands expect. In one real project, the fabric on the tech pack wasn’t “a gabardine.” It was logged by its exact article reference:
“Art: Gabardina Verona Colore 01”
That’s a specific cloth, in a specific color, from a specific mill. At that level there’s no room for the workshop to guess, and no risk of the wrong fabric arriving. You won’t always be able to name a cloth that precisely, and you don’t have to. But it’s the direction to aim in.
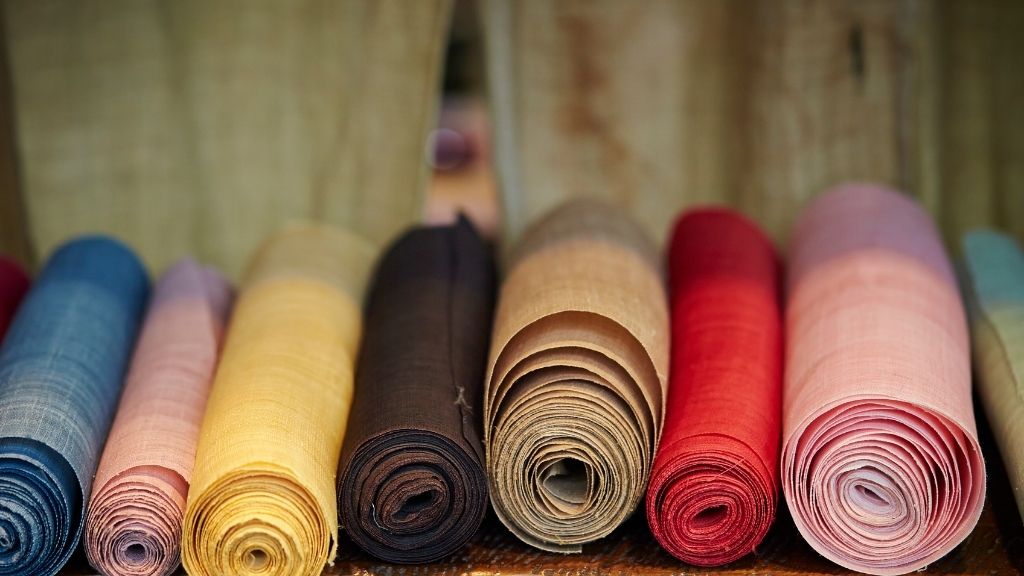
What to send depends on how far your sourcing has gone. In rough order of usefulness:
- A physical swatch, if you have one. Like the fit reference, a piece of the actual cloth removes all doubt about weight and hand.
- An article reference, if you know the exact fabric. Mill name, article name, color code.
- The specs, if you don’t. Composition, weight in grams per square meter, weave, and finish.
- A garment to match, if you have none of the above. Point the workshop at cloth that behaves the way you want.
And don’t stop at the main fabric. Trims decide as much of the finished look as the cloth, and they’re easy to leave blank:
- Thread: color, and whether it should match or contrast.
- Zips and buttons: type, size, finish, and any brand you want, like a specific zip maker.
- Labels: your woven label, care labels, and exactly where each one sits.
- Hardware: for anything with rings, buckles, or rivets, the specification and the finish.
Every trim you leave unspecified is one the workshop chooses for you. Sometimes their default is fine. But if the finish matters to your brand, it’s cheaper to say so now than to correct it on the sample.
4. Your quantities and size breakdown
A workshop can’t quote, and often can’t tell you whether they’re the right fit, until they know how much you want to make. Quantity drives the price, the minimum, and whether the job suits them at all, so it belongs in the package from the start.
Be ready to give three numbers, not one.
- Total units per style. The headline figure the quote is built on.
- The split by color. This matters more than brands expect, because minimums often work per color, not per style. A common CMT minimum is around forty pieces per color, set by the smallest fabric roll the mill will sell. Three colors can mean three separate minimums.
- The split by size. Your size breakdown: how many small, medium, large, and so on. The workshop needs it to plan cutting, and it shapes how fabric gets used.
Quantity also decides which conversation you’re even having. Minimums vary widely by model, and knowing roughly where you sit tells you whether a given workshop is reachable:
| Model | Typical minimum |
|---|---|
| Made-to-order | None. Single pieces are possible |
| CMT, where you supply fabric | Around 40 pieces per color |
| Full package | Around 50 pieces |
| Heavily customized runs | Higher, sometimes 300+ for the best pricing |
If your numbers sit below a workshop’s minimum, it’s better to know on the first email than after three weeks of back-and-forth. And if you’re not sure of your final quantity yet, say so, and give a realistic range. A workshop can work with “somewhere between 50 and 100,” and it will quote you both. What it can’t work with is a number that changes every time you speak, which is Adelaide’s point again: a range you’ve thought about beats a certainty you keep revising.
5. Visual references, and a little context
The last item is the cheapest to assemble and the easiest to skip. Visual references, images that show what you’re aiming at, give the workshop the intent behind the specs. A tech pack says what to build. References say what it’s meant to become.
Two kinds are worth sending, and they do different jobs.
- Product references: images of garments close to yours, marked up with what you like. “This collar,” “this length,” “this kind of pocket.” They anchor your specs to something the workshop can see.
- Direction references: a few images that show the level and the world your brand sits in. Not to copy, but so the workshop understands whether you’re making a rugged workwear jacket or a refined tailored one, which changes how they approach the same construction.
A short note on your brand helps for the same reason. The workshop doesn’t need your full story. It needs the one or two facts that change how they should build: your price positioning, your market, and the standard your customer expects. A luxury buyer and a contemporary one can order the same garment and need it finished differently, and the workshop can only account for that if you tell them.
Keep the references tight, though. A handful of clear, marked-up images beats a folder of fifty, which sends the workshop hunting for the signal in the noise. This is the completeness-versus-consistency balance one more time: a few references you’ve chosen deliberately are worth more than a mood board that pulls in three directions at once.
The complete package, at a glance
Here’s everything above in one view. You don’t need every item to open a conversation, but each one you add removes a set of guesses, and the whole package is what gets your first sample closest to right.
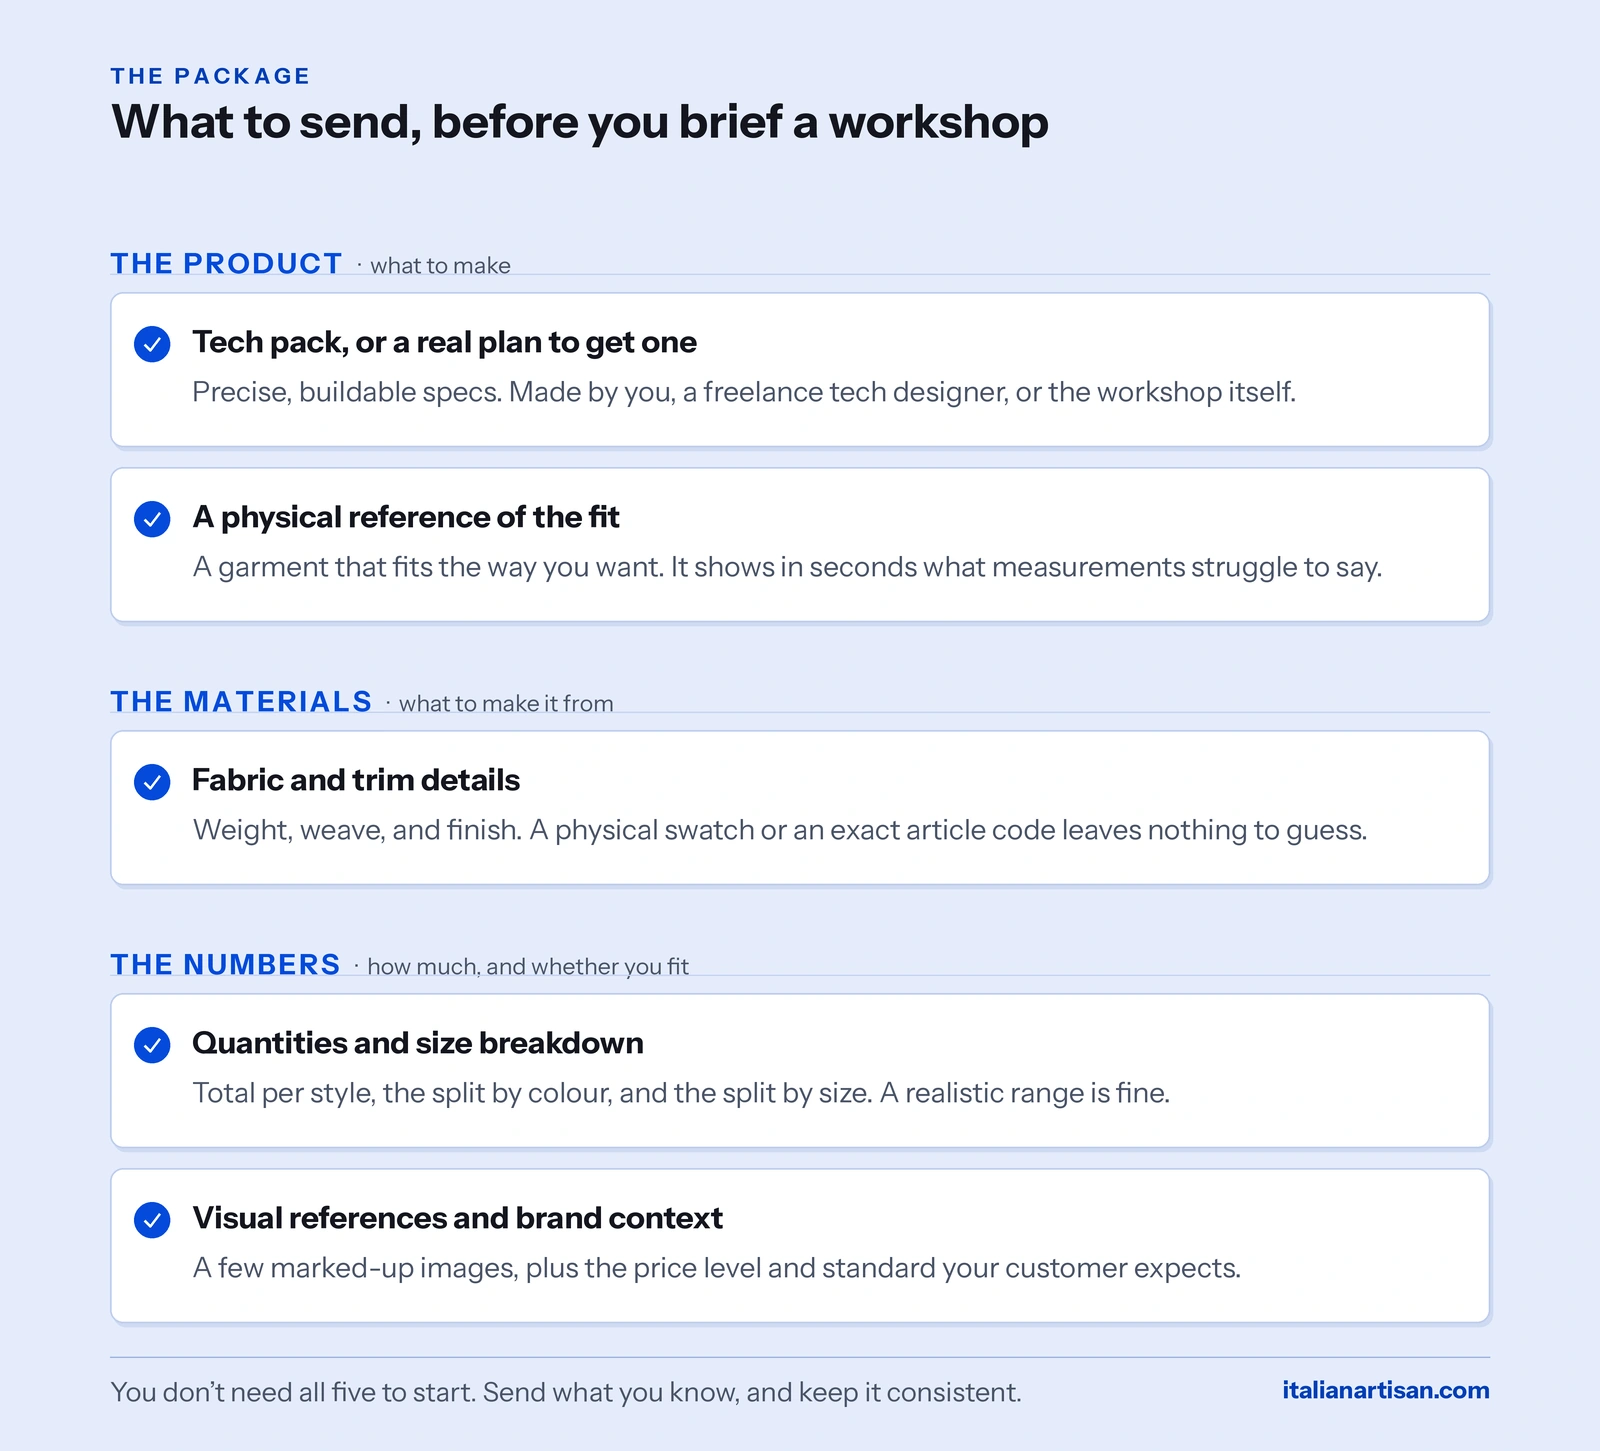
Think of it in three groups. The product (your tech pack or specs, and a physical fit reference) tells the workshop what to make. The materials (fabric and trims) tell them what to make it from. The numbers (quantities and size breakdown) tell them how much, and whether they’re the right fit at all. Visual references and a line of brand context sit across all three, carrying the intent.
And the rule underneath the whole list stays the same. Send as much as you genuinely know, be honest about what you haven’t decided, and then hold it steady. A complete, consistent package is the single biggest thing in your control for a clean first sample. What’s left after that is the workshop’s craft, and your feedback on the sample they send back.
The Pre-Production Checklist
Every item from this guide on one page, grouped and ready to tick off before you email a manufacturer. Print it, fill the gaps you can, and note the ones you can’t.
Download the checklist (PDF)When you’d rather not assemble it alone
Assembling this package is real work, and the first time through, you’re doing it without knowing which gaps matter most. Some blanks a workshop will happily fill with a sensible default. Others will cost you a sampling round. From the outside, they look the same.
That’s the difference a managed partner makes. Someone who prepares these packages every week knows which specifics a given workshop needs pinned down and which it can be trusted to decide, so the package that reaches the floor is complete in the ways that matter.
It’s also where the missing pieces get built rather than just flagged. If you don’t have a tech pack, Italian Artisan can develop one with you. If your fabric isn’t sourced, the network can source it. The package doesn’t have to arrive finished, because part of the service is finishing it, and then keeping it consistent from first sample to production.
You can absolutely prepare all of this yourself, and this guide is the checklist for doing it well. But if you’d rather hand over a rough brief and have the full package built around it, that’s a service worth having.
Turn a rough brief into a production-ready package
Send us whatever you’ve got, a sketch, a reference garment, or a finished tech pack. We’ll build out what’s missing and match you with a workshop that fits your product.
- The gaps built, not just flagged — tech pack development and fabric sourcing when you need them
- Complete in the ways that matter — the specifics your workshop actually needs pinned down
- Kept consistent — one project manager holding the brief steady from sample to production
No commitment.
Frequently asked questions
What do I need to send a clothing manufacturer to get started?
At minimum, a clear description of the product with sketches and any measurements you have, plus your rough quantities. The fuller package adds a tech pack, a physical reference garment for fit, fabric and trim details, and a few visual references. You don’t need all of it to start, but each piece you send reduces the guessing and gets your first sample closer to right.
Do I need a tech pack before contacting a manufacturer?
No, though it helps a lot. A tech pack turns your product from a description into a build instruction, so it speeds everything up. But many workshops offer development and can build one with you from sketches and clear notes. What they can’t work from is a single photo and a vague idea, so send the clearest version of what you know.
Can I send a sample garment as a reference?
Yes, and it’s one of the most effective things you can do. A physical garment communicates fit, fabric weight, and finish in a way measurements struggle to. Just be clear about what you’re pointing at, whether it’s the fit, the fabric, or the construction quality, since you’re rarely asking them to match the whole garment.
How specific do I need to be about fabric?
As specific as you can. “Cotton” tells a workshop almost nothing, while a weight in grams per square meter, a weave, and a finish tell them what to buy. The ideal is a physical swatch or an exact article reference from a mill. If you don’t have that, send a garment whose fabric behaves the way you want yours to.
What’s the most common mistake brands make?
Changing the brief after work has started. An incomplete package is workable, because a good workshop will develop it with you. A package that keeps shifting, with decisions reversed and directions changed mid-project, is what creates confusion and delays. Send what you know, be honest about what you haven’t decided, and then keep it steady.
Do I need to send my quantities upfront?
Yes, because quantity drives the price, the minimum, and whether a workshop is even the right fit. Give the total per style, the split by color, and the split by size. If your final number isn’t settled, send a realistic range rather than a single figure you’ll keep revising, and the workshop can quote against it.