
Table of contents
2 – Where a design meets reality
3 – Testing the pattern before it becomes a prototype
4 – How size grading works
5 – Where pattern making and grading go wrong
6 – Who makes your pattern
7 – Getting pattern making and grading right
8 – Frequently asked questions
TL;DR — Pattern making turns a design into the flat shapes a workshop cuts from fabric. It’s the stage where someone finds out whether your design can actually be built, and it usually happens in one base size first. Size grading then scales that base pattern up and down to produce your full size range. Both are technical crafts, and most fit problems in production trace back to one of them.
A sketch shows what a garment should look like. It doesn’t tell anyone how to make it. Between the drawing and the first cut of fabric sits a stage most brands never see: pattern making.
A pattern maker takes your design and works out the exact flat shapes that, cut and sewn together, produce it in three dimensions. Then grading scales those shapes across every size you plan to sell. Get these two steps right and the rest of production has a solid base. Get them wrong and the problem follows you into every size of every run.
This guide explains how pattern making and size grading work, where they go wrong, and what you need to supply. It covers one stage of the wider clothing manufacturing process, and it’s the stage where your design first meets the reality of cloth. If you want a clothing manufacturer in Italy to handle it for you, that’s what we do.
What a pattern is, and why a sketch isn’t one
A pattern is the set of flat templates for every piece of a garment: front, back, sleeves, collar, cuffs, pockets, facings. Each piece carries the information a cutter needs, including seam allowances, grain lines, notches that show where pieces join, and markings for pockets or buttonholes.
A sketch contains none of that. It shows a silhouette and some details, but it leaves hundreds of decisions open. How deep is the armhole? How much ease sits through the chest? Where exactly does the shoulder seam fall? A pattern maker answers every one of those questions, and each answer changes how the garment fits and moves.
That’s why the pattern, not the sketch, defines the product. Two pattern makers working from the same drawing will produce two different garments.
- Seam allowance: the extra margin beyond the stitching line that lets the pieces join cleanly.
- Grain line: the arrow that tells the cutter how to lay the piece on the fabric, which decides how the garment hangs.
- Notches: small marks that show where two pieces meet, so they join in the right place every time.
- Ease: the room built into the pattern beyond body measurements, so the wearer can move.
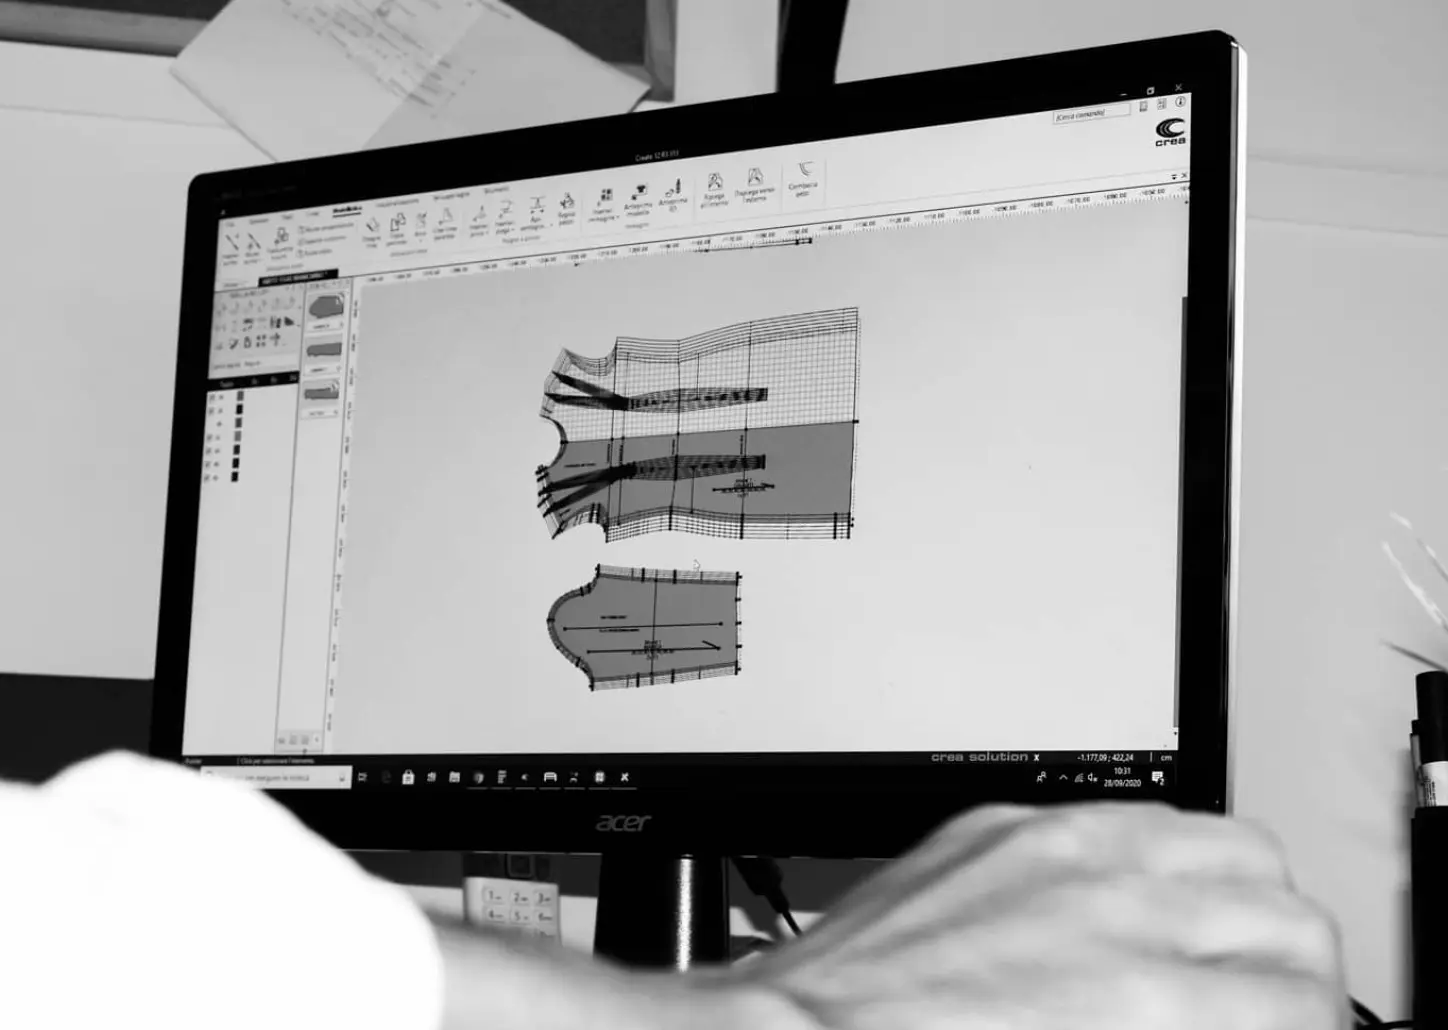
Pattern makers now work both by hand, on paper, and digitally in CAD software. The method matters less than the skill. A digital pattern built by someone who doesn’t understand how cloth behaves still produces a garment that doesn’t fit.
Where a design meets reality
Pattern making is the first moment anyone tests your design against the rules of construction. And sometimes the design doesn’t pass.
That isn’t a failure on your part. Designers draw what they want the garment to be. Pattern makers work out what cloth can actually do. A collar that looks sharp in a sketch may have no way to sit flat. A seam may land where no machine can reach. A shape may need a dart, a gusset, or an extra panel that the drawing never showed.
The value of an experienced pattern maker lies in what happens next. A weak one builds what you drew and lets the problem appear in the sample. A good one spots it on paper and proposes a fix. Here’s how that looks in practice:
“I was on a call with a client and the manufacturer, going through a design the client had drawn himself. As it stood, it simply couldn’t be made. The manufacturer didn’t just say no. He explained why, and proposed a change that kept the look the client wanted but made it buildable. The client agreed in five minutes. That’s the difference an experienced maker makes: the problem got solved in a conversation instead of in a failed sample.”
So treat pattern making as a dialogue, not a handover. Expect questions, and expect suggestions. A pattern maker who comes back with none has either received a perfect design or hasn’t looked closely.
It also helps to know what to protect. Before this stage, decide which elements of the design are essential to you and which are open to change. Then, when the pattern maker proposes an adjustment, you can judge it quickly against what actually matters.
Testing the pattern before it becomes a prototype
A pattern is a hypothesis. Until someone cuts it and puts it on a body, nobody knows for certain how it fits. So pattern makers test their work before the real prototype begins.
Start from one base size
Pattern makers build the first pattern in a single size, the base size, and perfect it there. Usually that’s a middle size in your range, such as a medium or an Italian 42 for womenswear, because a pattern that works in the middle scales more reliably in both directions.
Choose the base size deliberately. It should match your core customer, and ideally a real person you can fit on. A pattern perfected on the wrong body will carry that error into every size you grade from it.
Cut a test in cheap cloth
For many garments, the pattern maker first sews a quick version in inexpensive cloth, often cotton calico or muslin, known as a toile. It skips the finishing and the real fabric. Its only job is to show whether the shapes work: where the garment pulls, where it gapes, where the balance falls.
A toile costs little and saves a lot. Adjusting a pattern after a toile takes hours. Discovering the same problem in a finished prototype, cut from your real fabric, costs a full sampling round.
Give the pattern maker a fit reference
Words describe fit badly. “Slightly relaxed” means something different to everyone. The fastest way to close that gap is to hand over a garment that already fits the way you want. One brand owner we worked with did exactly this:
“I bought a Loro Piana polo shirt specifically to give the maker exact fit information. I could have written pages about how I wanted the shoulders and the chest to sit, and still been misunderstood. With the polo on the table, they could simply measure it. It was the cheapest way I found to get the fit right on the first attempt.”
A pattern maker can read measurements, proportions, and balance directly from a reference garment. Tell them what to take from it, whether that’s the whole fit or only the shoulder line, and they’ll build your base size around it.
How size grading works
Once the base size fits, grading produces every other size from it. The grader doesn’t redraw each size from scratch. They move specific points of the base pattern outward or inward by set amounts, called grade rules, to create each larger and smaller size.
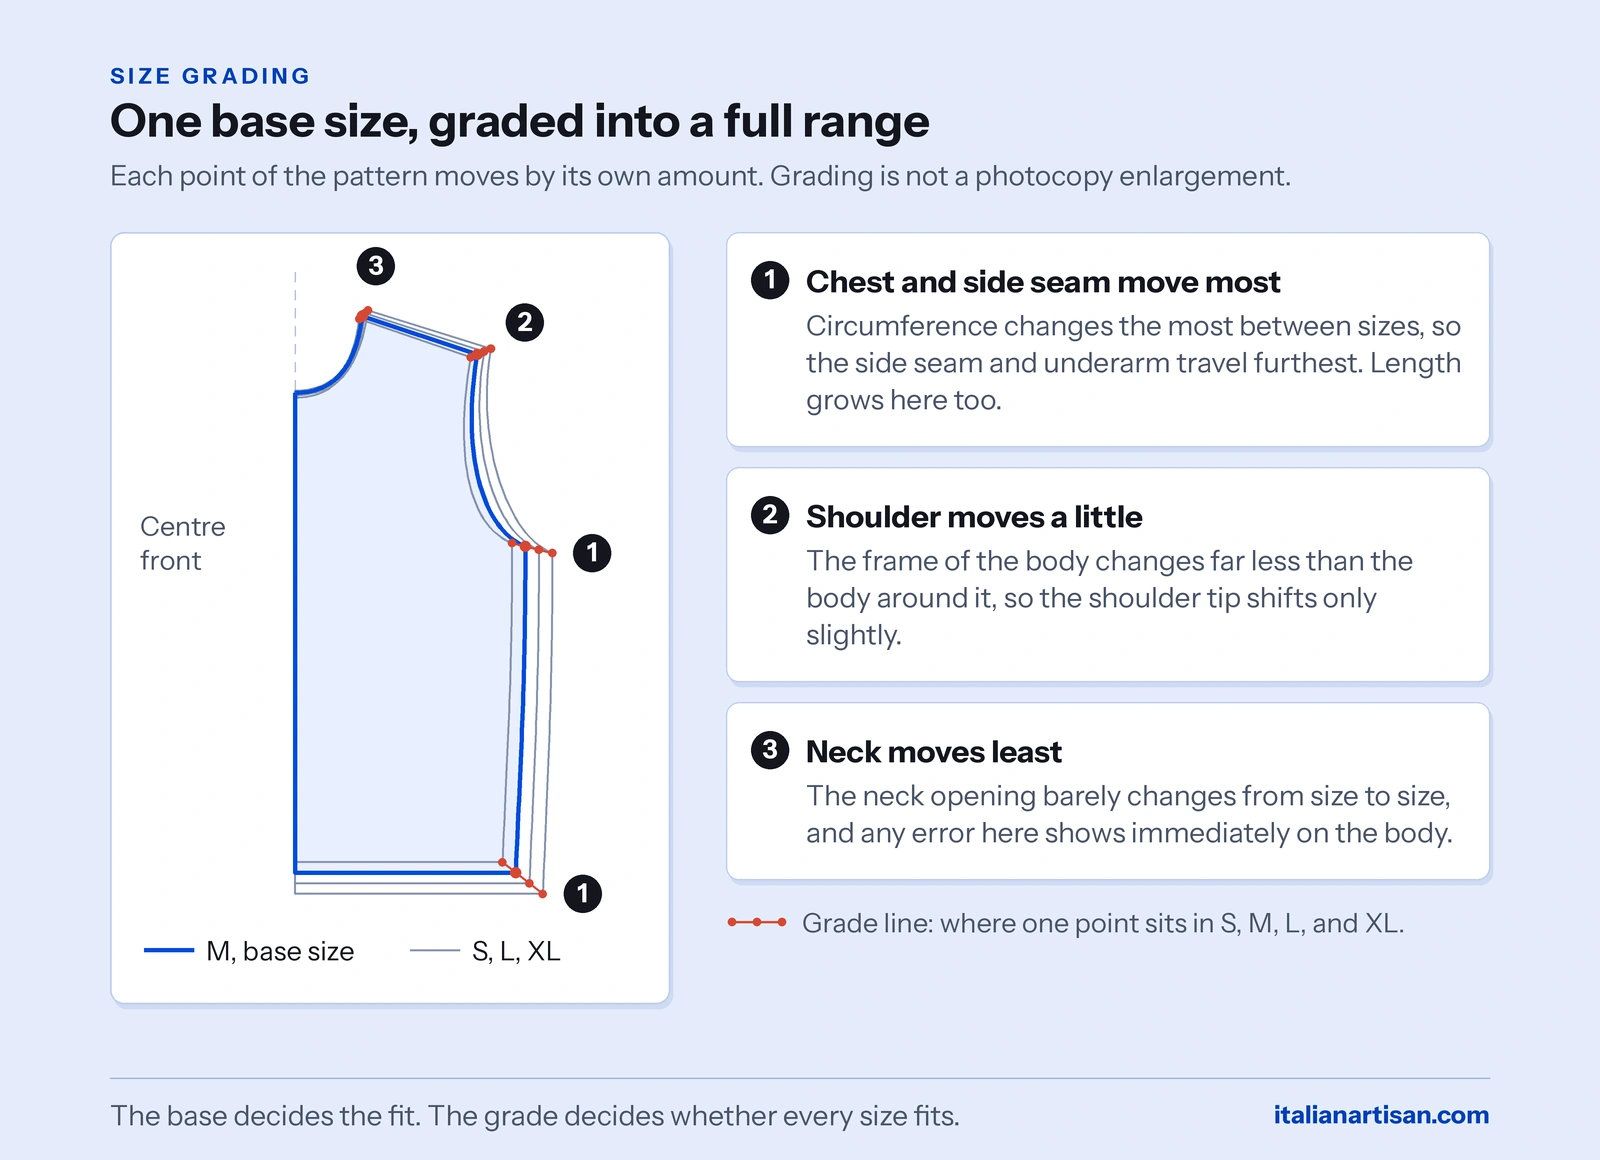
That last point matters more than it sounds. Bodies don’t grow uniformly. From one size to the next, the chest and waist change a lot, the shoulders a little, and the neck even less. So a good grade adds different amounts in different places, rather than scaling the whole pattern like a photocopy.
Here is an illustrative set of increments for womenswear tops, to show the principle. Your pattern maker will set the real values for your size system and your customer.
| Measurement | Change per size | Why |
|---|---|---|
| Chest and waist | Around 4 cm | Circumference changes most between sizes |
| Shoulder width | Around 1 cm | Frame changes far less than the body around it |
| Body length | Around 1 cm | Height changes only slightly within a size range |
| Neck opening | Small, often under 1 cm | Grows least of all, and misfits here show immediately |
Why the extremes go wrong first
Grading errors accumulate. A small mistake in the grade rules barely shows one size away from the base, but it compounds with every step. By the smallest and largest sizes, it can turn a well-fitting design into one that doesn’t fit at all.
Which is why a garment can fit perfectly in medium and badly in extra large, even though the same pattern produced both. The base was right. The grade wasn’t.
So don’t approve a size range on the base sample alone. Check at least the smallest and largest sizes before production. It’s the only way to see whether the grade holds across the whole range.
How wide a range one pattern can cover
Every base pattern has limits. Stretch a single grade too far, from a very small size to a very large one, and the proportions stop working at the ends, because body shapes change, not just their dimensions.
Brands with a wide size range often use two base sizes, one for the core range and one for the extended range, and grade each separately. It costs more development work upfront. But it produces garments that actually fit across the range, rather than ones that only fit in the middle.
Where pattern making and grading go wrong
Most pattern problems don’t come from bad pattern makers. They come from decisions made around the pattern, usually by the brand, often to save time. These are the ones that cost the most.
- Changing the design after the pattern exists. Every change to a finished pattern means reworking it, and often re-grading it. A late change to a collar can ripple through the neckline, the front, and every size.
- Skipping the test. Going straight from pattern to prototype in your real fabric. It feels faster, until the first prototype reveals a balance problem that a cheap toile would have shown.
- Choosing the base size casually. Building the base on a size, or a body, that doesn’t represent your core customer. The whole range inherits the mistake.
- Borrowing a generic size system. Using standard measurements copied from elsewhere, instead of measurements that fit the people who will actually buy from you.
- Assuming a pattern can be copied. Expecting a workshop to reproduce another product exactly, without developing its own pattern for it.
That last one surprises many brands. You can’t hand a workshop a garment, or a product name, and expect its pattern to come with it. A shoemaker in our network explained this to a client who wanted to match an existing model:
“If you want exactly the same shape and model as the one you’ve seen, I can’t just copy it. I have to redo both the last and the pattern myself, from the beginning. A pattern isn’t a file you can pass from one workshop to another. It carries the decisions of whoever made it, so to make it mine, and make it right, I need to build it again.”
The same holds for clothing. A reference garment tells a pattern maker what to aim for. It doesn’t save the work of building the pattern, and you should budget for that work even when you’re matching something that already exists.
One practical point follows from it. Before development starts, agree who owns the finished pattern and whether you receive a copy. If you ever move production, the pattern is one of the most valuable things you can take with you.
Who makes your pattern
You have three realistic options, and each changes who controls the pattern and how it reaches production.
- The workshop’s own pattern maker. The most common route in Italy. Many workshops employ a pattern maker who knows their machines, their sewing methods, and their habits, so the pattern fits the way that workshop builds. The trade-off: the pattern is shaped around one workshop.
- A freelance pattern maker. You brief them directly and they produce a pattern you hold independently. It gives you control and portability. But the workshop that eventually sews it may still need to adapt it to its own construction methods.
- A production partner. The partner coordinates the pattern maker and the workshop together, so the pattern gets built for the workshop that will actually make the garment.
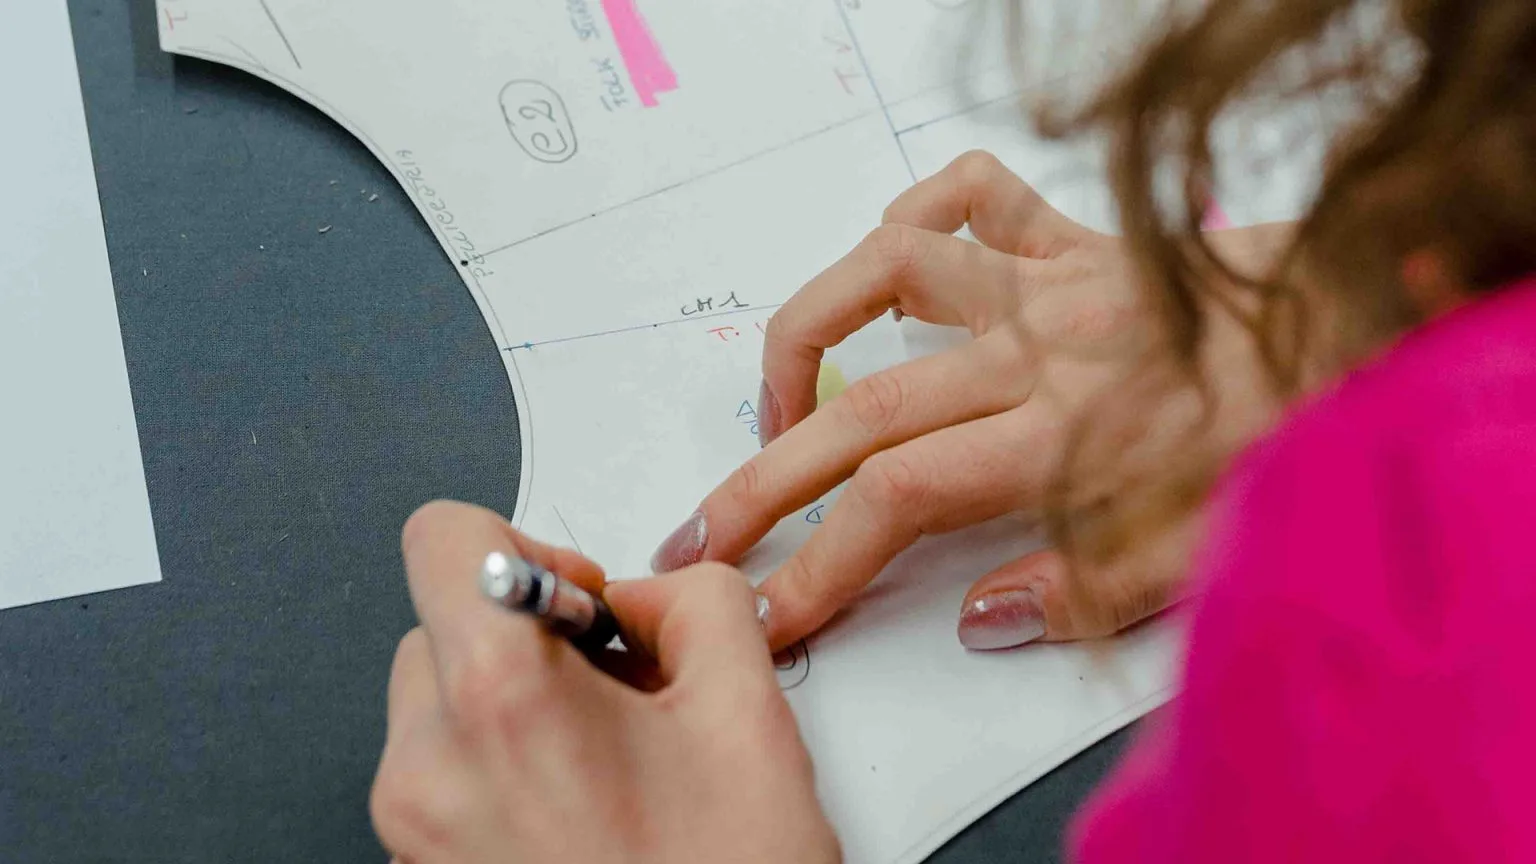
Whichever route you choose, the best results come when the pattern maker and the people who sew talk to each other. A pattern built in isolation from the workshop tends to need a round of corrections once it meets the machines.
Getting pattern making and grading right
Pattern making sits at an awkward point in the process. It needs design judgment and construction knowledge at the same time, and it sits between the person who drew the garment and the person who will sew it.
That’s why the handover matters as much as the craft. In our process, a pattern and its tech pack pass through more than one pair of eyes before they reach a workshop: the designer who develops it, a design review, and then the production manager who checks it against how the workshop will build it. Each review catches problems while they still cost minutes, not sampling rounds.
The workshop’s pattern maker then builds on a brief that’s already been tested for buildability, and grading follows from a base size chosen for your actual customer. That’s how Italian Artisan handles this stage: pattern, grading, and production treated as one connected piece of work.
Turn your design into a pattern that fits in every size
Send us your sketches, your tech pack, or a garment you want to match. We’ll check the design for buildability, develop the pattern with a workshop suited to your product, and grade it across your range.
- Buildability checked early — problems solved on paper, not in a failed sample
- Patterns built for the workshop that sews them — fewer corrections once cloth is cut
- Grading checked at the extremes — so the smallest and largest sizes fit as well as the base
No commitment.
Frequently asked questions
What is the difference between pattern making and size grading?
Pattern making creates the flat templates for every piece of a garment, usually in a single base size. Size grading then scales that base pattern up and down to produce the full size range. Pattern making defines the design; grading reproduces it across sizes.
Do I need to supply a pattern to a clothing manufacturer?
No. Most Italian workshops have their own pattern maker, who can build the pattern from your tech pack, your sketches, or a reference garment. You only need to supply a pattern if you’ve already had one made independently and want to use it.
Can a pattern be made from an existing garment?
Yes. A pattern maker can take measurements, proportions, and balance directly from a reference garment, and it’s one of the most reliable ways to communicate fit. But they still build a new pattern from it, so budget for the development work even when you’re matching something that exists.
How long does pattern making take?
Pattern development usually runs as part of the prototype stage, which takes two to five weeks depending on the complexity of the garment. A simple top sits at the short end; a structured jacket with many pieces takes longer, especially if the pattern needs a test toile first.
Why does my garment fit in one size but not in another?
Usually because of the grading, not the pattern. Grading errors compound with every size away from the base, so a garment can fit perfectly in medium and badly in extra large. That’s why you should check the smallest and largest sizes, not just the base sample, before production.
What base size should I use?
Use the size that best represents your core customer, usually one in the middle of your range, such as a medium or an Italian 42 for womenswear. A middle size grades more reliably in both directions. Ideally, fit it on a real person who matches your customer.