
Table of contents
2 – The sample types you’ll hear named
3 – How long sampling takes
4 – What to check when the sample arrives
5 – Prints, embroidery, and the artwork you send
6 – What approving a sample actually commits you to
7 – What happens after you approve the sample
8 – Where sampling goes wrong
9 – Running sampling with a partner instead of alone
10 – Frequently asked questions
TL;DR — Sampling is the stage after prototype approval, where your product gets developed in the real materials, across the sizes and colours you plan to sell. It produces the reference every production piece will be measured against. A sample takes about fifteen days once the fabric arrives. Skip it and you carry the risk into production, where a fault costs the whole run instead of one piece.
Prototyping answers whether your product works. Sampling answers a different question: is this exactly what we will produce, in every size and every colour, in the materials you actually chose?
It’s the stage brands are most tempted to compress, because the product already exists and approving it feels like a formality. It isn’t. Sampling is where the standard gets set, and the standard is the only thing you can point at later when a delivery arrives wrong.
This guide covers what sampling produces, the sample types you’ll hear named, how long it takes, what to check when the sample lands, and what approval actually commits you to. It’s one stage of the production process end to end, and if you want a team to run it with you, that’s what working with an Italian apparel manufacturer through us involves.
What sampling produces
A prototype is built to be judged. A sample is built to be copied.
That difference drives everything else. A prototype often uses whatever materials the workshop had to hand, in one size, to test whether the design holds up. A sample uses your fabric, your trims, your labels, and covers the size and colour range you intend to sell. It is the product, made once, correctly.
Which gives it a second job beyond checking the design. The approved sample becomes the physical reference:
- The workshop builds production to it. Not to the tech pack alone, but to a garment its team can hold and measure.
- Quality control measures against it. During and after the run, finished pieces get compared to the approved sample and its tolerances.
- You have something to point at. If a delivery comes back wrong, the sample is the agreed standard. Without one, you’re arguing from a document, and documents get interpreted.
So approving a sample is not a formality at the end of development. It’s the moment you define what “correct” means for everything that follows.
The sample types you’ll hear named
Workshops and buying offices use several names for samples, and they don’t all mean the same thing. Knowing which one you’re being quoted for prevents a surprise on the invoice and on the calendar.
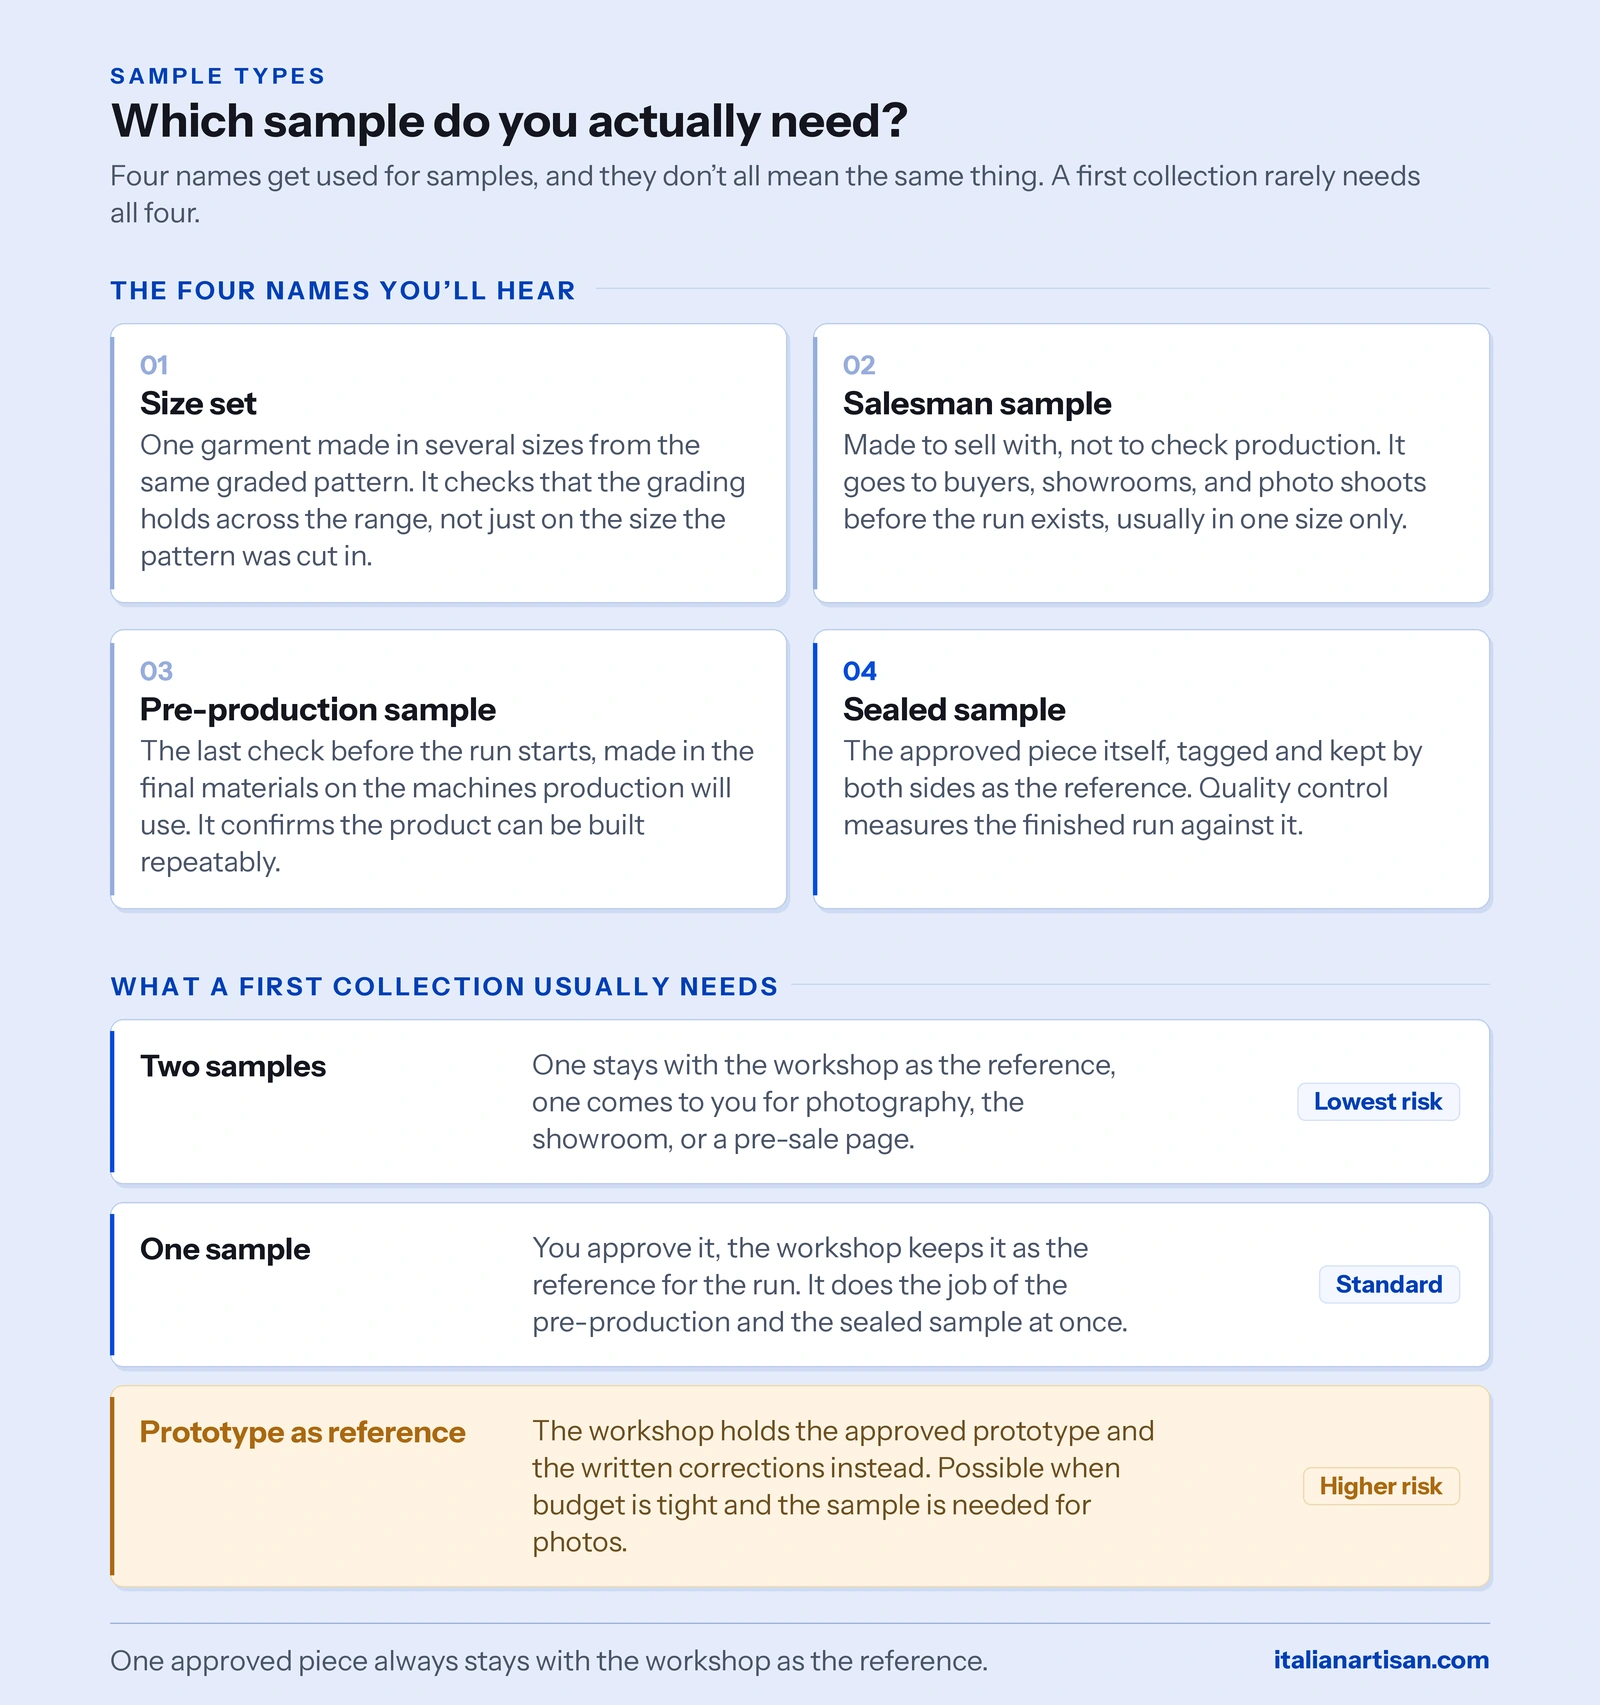
- The size set. One sample in each size of your range, made to check that the grading holds. It’s where a garment that fits beautifully in medium reveals that it doesn’t in extra large.
- The salesman sample, sometimes called the photo sample. Made to sell with, not to check production: it goes to buyers, showrooms, and photo shoots before the run exists. Brands often make these in one size only.
- The pre-production sample. The last check before the run starts, made in the final materials, on the machines and with the methods production will use. It confirms that what was approved can be built repeatably, not just once.
- The sealed sample. The approved piece itself, agreed by both sides and kept as the reference. Traditionally tagged and sealed so nobody can swap it later.
Most small and mid-sized productions don’t need all four. A common path is a size set, then a pre-production sample, with the approved one becoming the sealed sample. Salesman samples only make sense if you’re selling to buyers before you produce.
Ask which of these is included in your quote. “Sampling” as a single line item can mean one piece in one size or a full set across your range, and the difference is both cost and weeks.
Why the sealed sample matters more than it sounds
Of the four, this is the one brands treat most casually and regret most specifically.
The sealed sample is the physical standard. Both you and the workshop hold an agreed version, and quality control checks the run against it. When a piece comes back with a seam finished differently or a shade slightly off, the question stops being a matter of opinion. Either it matches the sealed sample within tolerance, or it doesn’t.
So keep yours. Store it somewhere it won’t be worn, altered, or used for a photo shoot, and make sure the workshop’s copy is tagged with the style, the size, the date, and who approved it. It’s the cheapest insurance in the whole process.
If you’re a small or new brand, you probably need one sample
Four sample types is what a structured, multi-size, multi-season production looks like. It is not what a first collection looks like.
For a new brand, the normal setup is simpler.
- One sample. You approve it, and the workshop keeps it as the reference for the run. That single piece does the job of the pre-production sample and the sealed sample at once.
- Two samples, if you need images. One stays with the workshop as the reference, one comes to you for the shoot, the showroom, or the pre-sale page. Worth the second piece if your launch depends on photography.
- Prototype as reference, if the budget is tight. Where a brand needs its only sample for photos and can’t fund a second, the workshop can hold the approved prototype plus the written corrections as the standard instead.
That third route works, and we do it. But be clear about the trade. A prototype was built to be judged, often in substitute materials, so using it as the reference means production is measured against something that was never quite the final product. The written notes have to carry the difference, and the risk of the run not landing exactly right goes up.
So the honest ranking is simple. Two samples if photography matters and budget allows. One sample if it doesn’t. Prototype-as-reference only when the alternative is not producing at all.
How long sampling takes
About fifteen days to develop a sample, counted from the day the fabric reaches the workshop.
That last clause is the whole sentence. Fifteen days is a reliable figure, and it is also the figure that misleads most brands, because they start counting from the day they approved the quote. Between those two dates sits the material order, which runs two to five weeks on its own.
| Step | Typical time | What it depends on |
|---|---|---|
| Ordering and receiving materials | 2–5 weeks | Whether the fabric is in stock or woven to order |
| Developing the sample | About 15 days | Counted from the day materials arrive |
| Your review and feedback | Days to weeks | Entirely in your hands, and often the longest step |
| A corrected sample, if needed | Shorter than the first | The workshop already has the pattern and materials |
Notice which row you control. The workshop’s fifteen days are fairly fixed. Your review time is not, and in stalled projects it is usually the step that stretched.
A sample sitting on a desk waiting for a decision is the most common hidden delay in production, and it rarely shows up in anyone’s plan. Before the sample ships, agree who reviews it, how fast, and what happens if that person is travelling.
What to check when the sample arrives
Open the parcel with the tech pack and the size chart next to you. You’re not judging whether you like it, you’re verifying whether it matches what was agreed, point by point.
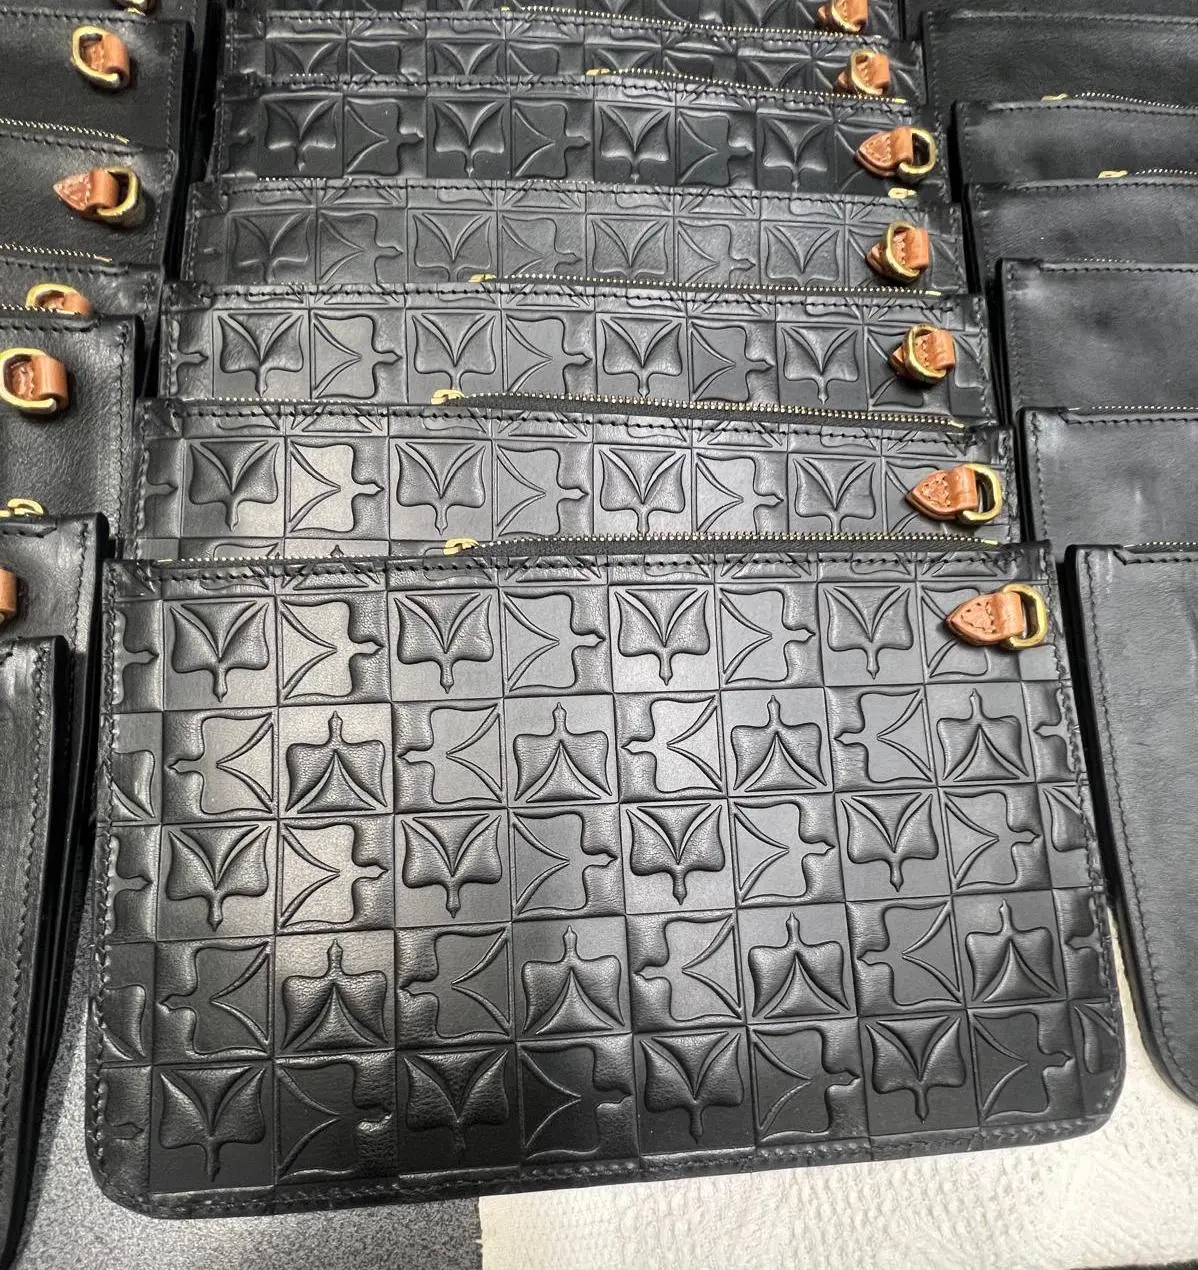
- Measurements against the chart. Every point of measure, in every size you received, recorded against the tolerance you set. This is the check brands skip most often and regret most reliably.
- Colour, in daylight. Compare against your reference, not against a screen. Check that colour is consistent between panels of the same garment, and between garments of the same colourway.
- Fabric hand and weight. Confirm it matches the swatch you approved. A substitution made for availability reasons should have been flagged, but check anyway.
- Trims and hardware. Zips, buttons, rivets: the right type, the right finish, working smoothly.
- Labels and placement. Brand label, care label, size label, all present, correctly worded, and in the position your tech pack specifies.
- Prints and embroidery. Position, scale, colour, and edge quality. Measure the placement rather than eyeballing it.
- Construction and finishing. Seam type, stitch density, how the inside looks, and whether anything is left raw that shouldn’t be.
- Fit on a real body. Not just on a hanger. Someone who matches your base size should wear it and move in it.
Two extra tests are worth the time on any garment that will be washed. Put the sample through the care cycle on its label, and check for shrinkage, colour bleed, and how the finish holds. Then wear it for a few hours, because a collar that sits well for a minute can behave differently by the afternoon.
Record everything in writing with the same discipline you used at prototype stage: what’s a fault against the spec, what’s a change you want, and which of the two must be fixed before approval.
Prints, embroidery, and the artwork you send
Sampling is where artwork problems surface, and almost all of them trace back to the file rather than to the printer.
The recurring one is resolution. Brands send a logo or a graphic as a JPG or PNG, because that’s what they have. Those formats are made of pixels, so enlarging them to garment scale softens every edge. Our team explains this often enough that the explanation has become standard:
“We hit the same problem on all of them. To make the print, the image has to be enlarged, and a normal file is made of pixels, so it loses resolution as it grows. An SVG doesn’t work that way. It can be scaled indefinitely without losing quality, because it isn’t built from pixels at all. Send the vector file and the print comes out sharp at any size.”
So send vector artwork, usually an SVG, AI, or EPS file, and send it before the sample is made rather than after the first one comes back blurry.
A few other artwork details are worth settling at the same time.
- Colours as references, not as screen values. Give Pantone references for print and thread colours. A colour that looks right on your monitor is not a specification.
- Placement in measurements. State how far the print sits from the shoulder seam and from the centre front, in centimetres. “Centred on the chest” is interpreted differently by different people.
- Size of the artwork itself. Give the printed width, and say whether it scales with the garment size or stays fixed across the range.
- Method, if you care. Screen print, digital print, and embroidery each render the same artwork differently, especially on fine detail and small text.
Fine detail is where methods diverge most. A thin line or small lettering that reads perfectly in a digital print can close up in embroidery, so if your logo has delicate elements, ask to see them sampled before committing the whole run.
What approving a sample actually commits you to
Approval is a decision with consequences, not a courtesy. When you approve, three things happen at once.
- The sample becomes the standard. Production gets built to it, and quality control measures against it.
- The quote gets fixed against these materials. The price you agreed describes this fabric, these trims, this construction. Change any of them afterwards and the quote has to be confirmed again.
- The production slot becomes real. Most workshops schedule the run from approval, so the date you get depends on when you approve, not on when you first enquired.
Which means a conditional approval is worth stating clearly rather than implying. If you are approving the fit but still want the collar adjusted, say exactly that, in writing, and confirm whether the workshop treats it as approved or pending. “Looks good, just fix the collar” is the sentence that produces four hundred garments with the old collar.
And if you’re genuinely unsure, another sampling round costs one piece. Production costs the run. The arithmetic almost always favours the extra round.
What happens after you approve the sample
Approval starts the production clock. The workshop books your slot, orders the bulk materials, and builds to the sealed sample. From that point the timeline depends on quantity and category, not on how quickly you replied to emails.
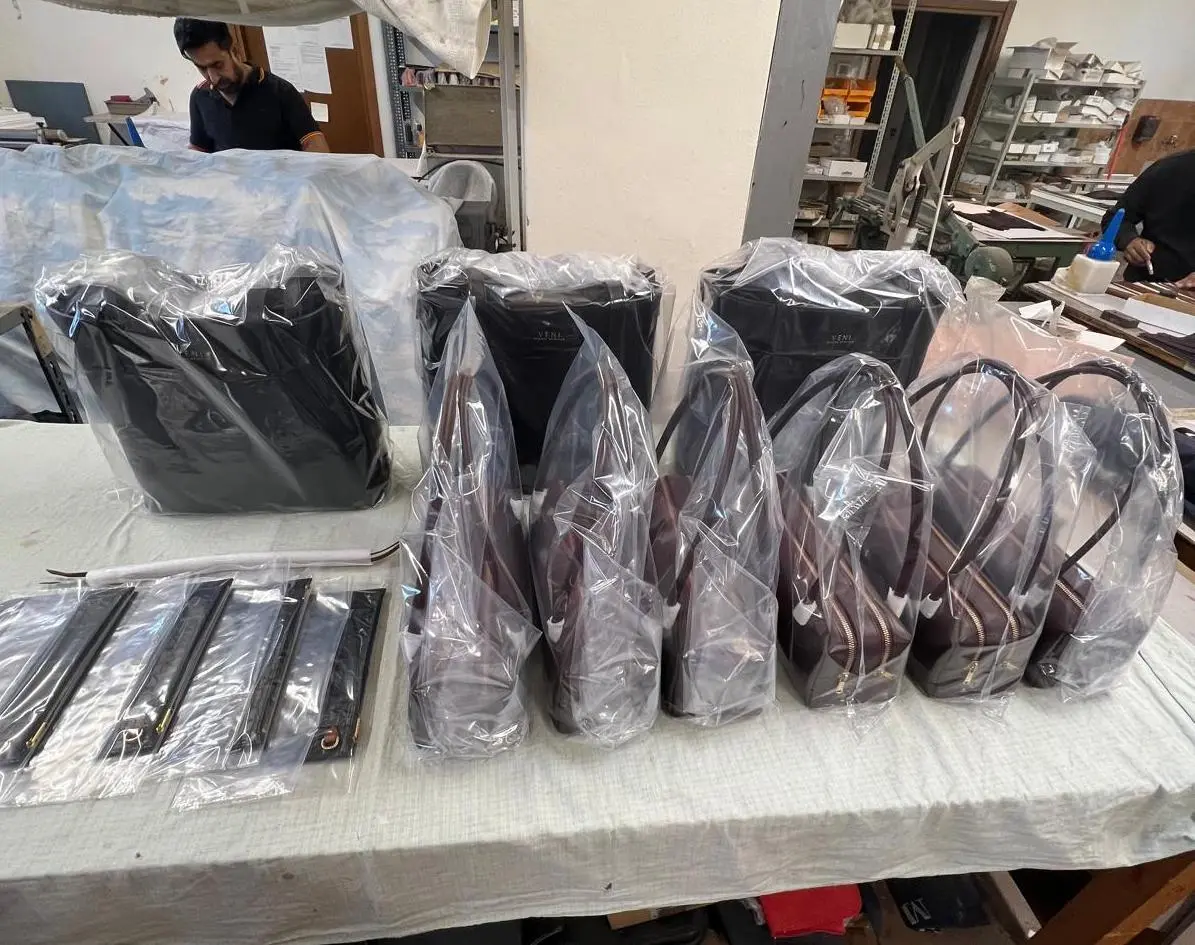
For example, a US streetwear brand came to Italian Artisan in May 2024 with a hoodie project. We matched the brand to a workshop, ran the customisation through sampling, and the brand approved in June. The production order went in during July. Around four hundred hoodies landed in the United States on 29 August. Roughly ten weeks from sample approval to delivered goods, on an order with a custom back print, a custom neck label, and a modified fit.
Two things in that arc are worth noticing. The first is that the sampling stage, not the production stage, held most of the decisions. By approval, the fit, the print file, the label, and the price per piece were all settled. The second is that the calendar only moved once the brand said yes. Every week spent deciding before approval is a week added to delivery.
So if you have a season date to hit, work backwards from it. Take your delivery date, subtract the production run, subtract sampling, subtract material lead times, and you get the date you needed to start. Most brands discover they are already late at that point. Better to discover it in a spreadsheet than in August.
Where sampling goes wrong
Most sampling problems are not technical. They come from how the round gets managed.
- Approving on a photo. A sample photographs well and fits badly. Hold the garment, measure it, and put it on a body before you approve anything.
- Feedback by phone only. Everyone leaves the call certain of what was agreed, and each version is slightly different. Write it down and send it, every round.
- Changing materials after approval. A swapped fabric or a swapped trim invalidates the quote, and sometimes the fit. Treat any change as a new confirmation, not a detail.
- Sampling one size and grading blind. The base size can fit perfectly while the extremes do not. Ask for a size set when the range matters to you, which for most brands it does.
- Letting the round go quiet. A sample that has not been discussed in three weeks is usually stuck on something nobody flagged. Ask for a status rather than waiting.
- Rushing the last round to save two weeks. You will spend those two weeks again in production, at run scale, fixing the thing you chose not to look at.
The last one is the expensive one. A second sample costs you one piece and a short delay. A production run built on an unresolved doubt costs you the run.
Running sampling with a partner instead of alone
You can run sampling yourself, straight with a workshop, and plenty of brands do it well. This guide is the map. The part that catches people out is not the technical side, it’s the following up: chasing a material that never shipped, noticing that a round has gone quiet, and keeping the quote tied to the materials actually used.
That’s the work Italian Artisan takes on. Every project gets a project manager, and the sampling stage is tracked rather than assumed. Our internal system flags any project sitting past its expected sample date at fifteen days, and again at thirty, so a stalled round surfaces as an alert instead of as a question you eventually think to ask. The same person translates your feedback into technical corrections the workshop can act on, and confirms the quote again whenever a material changes.
And because we work with Italian workshops directly, sampling stays connected to what comes next. The sealed sample, the corrected tech pack, and the confirmed price move into production together, which is how a brand manufacturing clothing in Italy gets a run that matches what it approved.
Sample your collection with an Italian workshop
Send us your tech pack, your approved prototype, or a reference garment. We’ll match you with a workshop that builds your kind of product, plan the sampling rounds, and manage them until the sample is worth sealing.
- A project manager on every round — one person tracking materials, dates, and corrections
- Feedback turned into specifications — your comments written up the way a workshop reads them
- Quotes kept honest — change a material, and the price gets confirmed again before production
No commitment.
Frequently asked questions
What is the clothing sampling process?
It’s the stage after prototype approval, where the workshop builds your product in the final materials, across the sizes and colours you intend to sell. It produces the sample that gets approved and sealed, and that sealed sample becomes the reference every production piece is measured against.
How long does sampling take?
Around fifteen days from the moment the fabric reaches the workshop. The part most brands underestimate is what comes before that: materials typically take two to five weeks to arrive. Add your own review time and one corrected round, and a realistic sampling stage runs six to ten weeks end to end.
What is the difference between a prototype and a sample?
A prototype is built to be judged, often in substitute materials and one size. A sample is built to be copied, in your real materials, across your size and colour range. The prototype settles the design. The sample sets the standard for production.
What is a sealed sample?
The approved sample, tagged and kept as the official reference by both sides. Quality control measures production against it, and any dispute about whether a delivery is correct gets settled by comparing it. Without one, “wrong” becomes a matter of opinion.
What is a size set sample?
One garment made in several sizes from the same graded pattern, usually the smallest, the base, and the largest. It checks that the grading works across the range, not just on the size the pattern was cut in. Ask for one whenever you sell a full size run.
How many samples does a new brand need?
Usually one. You approve it and the workshop keeps it as the reference for the run. Order a second if you need the product for photography, a showroom, or a pre-sale page, so one piece stays with the workshop and one stays with you.
Can the prototype be used as the production reference instead of a sample?
It can, and it’s a normal route for brands on a tight budget that need their only sample for photos. The workshop holds the approved prototype plus the written corrections as the standard. Just know the trade: a prototype is often built in substitute materials, so production gets measured against something that isn’t quite the final product, and the risk of an imperfect run goes up.
How much does a sample cost?
Usually two to three times the production price of the same product, because a single piece carries the setup and none of the scale. A garment that costs 50 euro in a run can cost 100 to 150 euro as a sample, plus any one-off costs such as machine setup or custom hardware.
How many sampling rounds should I expect?
One or two. If the prototype stage did its job, the first sample is usually close, and a single corrected round closes the gap. Budget for the second round anyway. It costs one piece and a couple of weeks, against a production run built on an unresolved doubt.
Can I skip sampling and go straight to production?
You can, and some workshops will let you. What you give up is the reference. Without an approved sample there is nothing to measure production against, no fixed price tied to confirmed materials, and no agreed standard if a delivery arrives different from what you pictured.